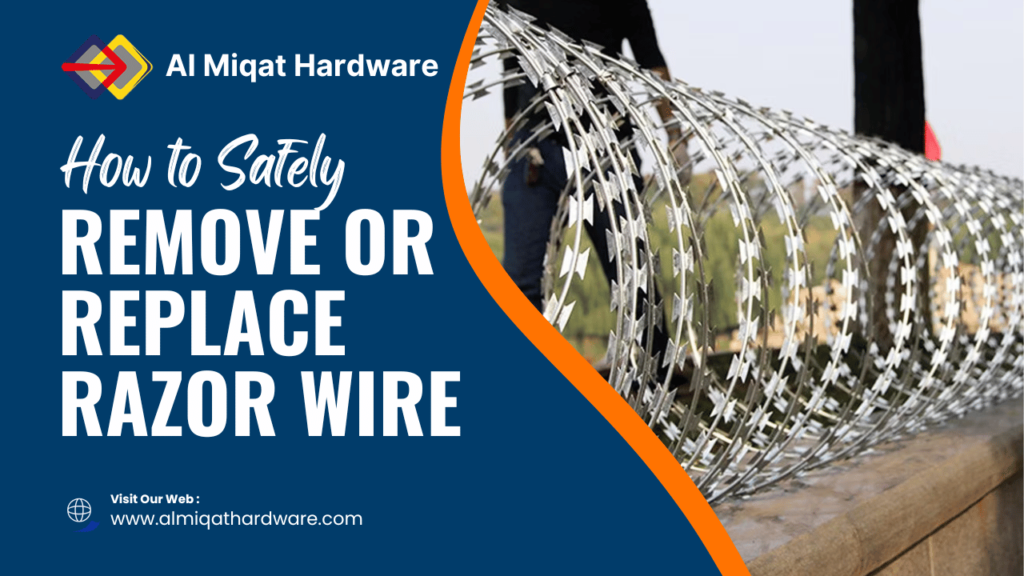
Razor wire is one of the most effective perimeter security solutions available today. Its sharp edges and intimidating appearance serve as both a physical and psychological deterrent against intruders. However, over time, razor wire may become damaged, rusted, or outdated, requiring removal or replacement. Handling razor wire without the right precautions can be extremely dangerous due to its sharp blades and tensioned coils.
At AL Miqat Hardware, we supply high-quality razor wire and fencing solutions across the GCC. But just as important as installing razor wire is knowing how to safely remove or replace it when needed. This blog will guide you through best practices, safety tips, and the tools required for a safe, efficient, and professional razor wire removal or replacement.
Why Would You Remove or Replace Razor Wire?
Razor wire is designed to be long-lasting, especially when galvanized or PVC-coated. However, removal or replacement might be necessary due to:
- Corrosion or Rusting: Over time, exposure to moisture and extreme weather may degrade even high-quality razor wire.
- Structural Damage: Fence movement, vandalism, or animal interference may damage the coils or mounting brackets.
- Security Upgrades: You might be replacing old razor wire with newer or more advanced fencing options (like electric fencing or concertina coils).
- Renovation or Relocation: If the property layout is changing, the fencing needs to be modified or removed.
- Legal or Zoning Changes: In some regions, changes in building regulations or safety codes may require the removal of certain types of fencing.
Safety First: Essential Precautions
Razor wire is not like standard fencing—its sharp blades can cause serious injury. Always follow these safety guidelines:
✅ Wear Full Protective Gear:
- Heavy-duty leather gloves
- Long-sleeved thick clothing or safety jacket
- Safety goggles or face shield
- Steel-toe boots
- Cut-resistant sleeves (optional but recommended)
✅ Work with a Team:
Never attempt razor wire removal alone. You’ll need at least two people for safe handling, especially when managing tensioned coils.
✅ Use the Right Tools:
- Wire cutters or bolt cutters
- Pliers and fencing tools
- Ladder or scaffold (if removing from height)
- Tie wire or zip ties
- Bucket or bin for discarded wire
- Heavy-duty bags or disposal containers
- Grinder (for removing welded brackets, if necessary)
Step-by-Step: How to Safely Remove Razor Wire
- Assess the Situation
Inspect the wire and surrounding structure to understand how the wire is attached. Is it on brackets, posts, or welded directly to a frame? Are coils tensioned or loose? Identify any rusted or weak points.
Tip: Photograph the setup before removal if you plan to reinstall similar fencing.
- Secure the Work Area
Block off the work area to prevent accidents. If the razor wire is installed on top of a wall or fence, make sure the ladder is stable and secure before climbing.
- Release the Tension
Razor wire coils are often under tension, which can snap back when cut. Start by cutting the fastening wires or zip ties, not the coil itself. This allows you to gently loosen the wire without sudden recoil.
For concertina coils, use tie wire or zip ties to compress the coils every 1–2 meters before cutting. This keeps the wire in a manageable state and prevents dangerous springing.
- Cut and Remove Sections Carefully
Using a pair of heavy-duty wire cutters, cut the wire at manageable lengths. Work slowly and steadily, and pass the wire sections to a partner for safe disposal or coiling.
Avoid pulling the wire aggressively—it may tangle or cause a whip-back effect.
- Dispose or Store the Wire Safely
Do not discard razor wire in open bins where people or animals may get injured. Place it in a sturdy container or wrap it tightly, and dispose of it according to local regulations or recycling policies. If storing for later reuse, coil it tightly and tie it in multiple places to prevent uncoiling.
Replacing Razor Wire: Best Practices
If you’re replacing the wire, follow these tips for a safe and secure installation:
✅ Choose the Right Type
- Galvanized concertina wire for long-term durability
- Flat wrap razor wire for cleaner appearance
- PVC-coated options for corrosion resistance and aesthetics
AL Miqat Hardware offers all types of razor wire fencing with various diameters and blade profiles to suit your specific needs.
✅ Use Strong Support Brackets
Install Y-shaped, L-shaped, or straight-angle brackets designed to handle the weight and tension of razor wire. Ensure they are evenly spaced and anchored securely to the fence or wall.
✅ Maintain Proper Tension and Spacing
When installing concertina coils, stretch the wire evenly and secure it every 1–1.5 meters. For flat wrap, use metal clips or wire ties to hold it against the base fence.
✅ Install Warning Signage
To meet safety and legal requirements, especially in public or semi-public areas, place warning signs near razor wire fencing to prevent accidental contact.
Conclusion
Whether you’re removing old razor wire or replacing it with a modern solution, safety is the top priority. Razor wire is an excellent deterrent, but it demands careful handling and proper installation to function effectively without posing unnecessary risks.
At AL Miqat Hardware, we don’t just supply premium-grade razor wire—we help you get the most out of it with expert advice, accessories, and support. From straight-line security wire to concertina coils and flat wrap, we offer everything you need for a safe, secure, and long-lasting installation.


